Courses
No Events
01: Carving a Wax Ring
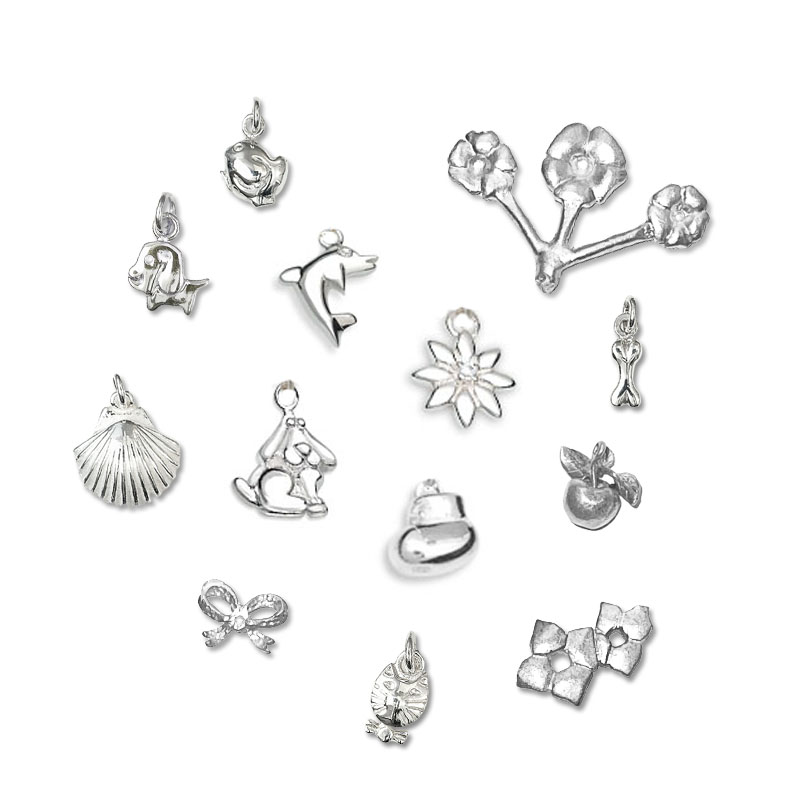
02: Carving a Wax Pendant
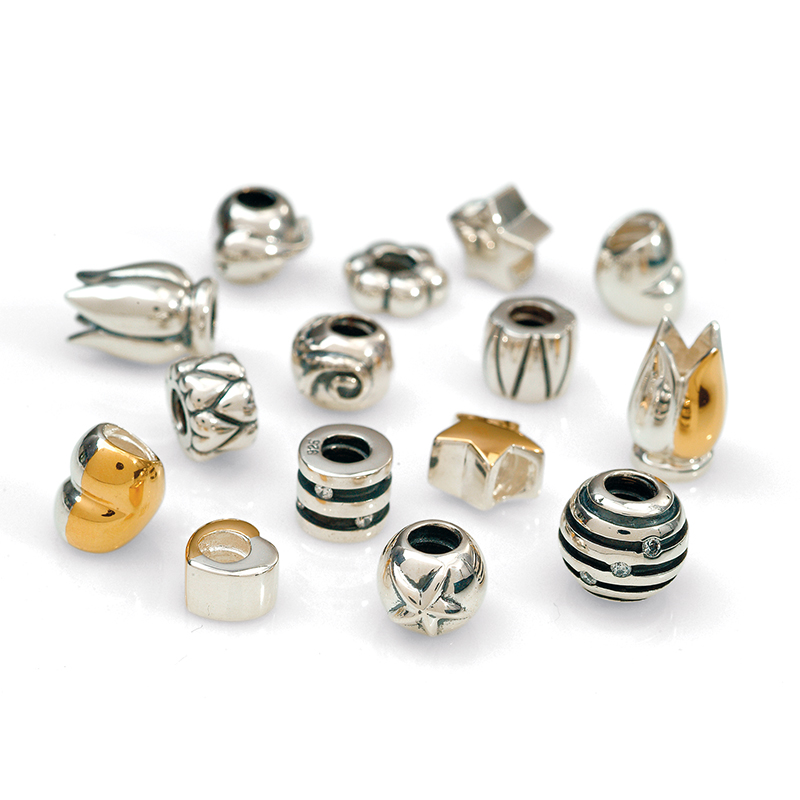
03: Carving a Wax Bead or Charm
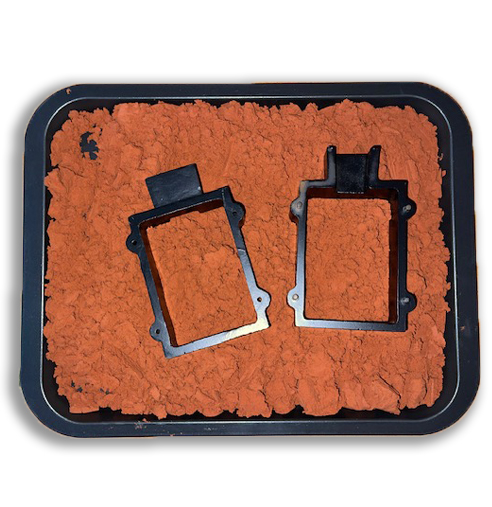
04: Delft Clay and Cuttlefish Casting Mastery
05: Mitsuro Hikime wax technique
Carving a Wax Ring : Duration 4 hours
£115 including silver casting (weight limit)
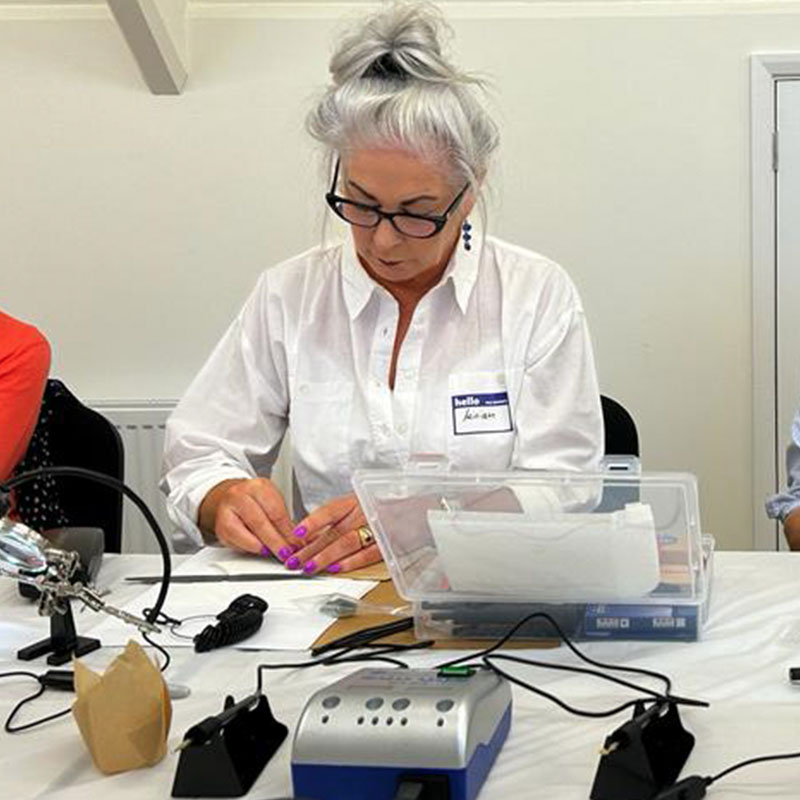
Carving a wax ring is a great introduction to the craft of jewellery. The immediacy of being able to try on your ring at any stage of the process is a real joy. The outline below describes the course format in detail, but don’t worry one of our fully trained jewellers will be on hand to guide you through the process.
Introduction
- A brief history of wax carving.
- Explain wax jewellery making process – wax carving, moldmaking, casting, finishing.
- Discuss ring anatomy – shank, shoulders, gallery, head.
- Introduce wax types – hard, medium, soft ( Typically blue and green are used )
- Review wax carving toolset provided for each student – wax carvers, knives, files, hot wax pen, hot wax gun.
- Wax safety – ventilation, low heat, sharp tools.
Demonstration
Planning the Ring Design
- Consider style – use our helpful inspiration sheet
- Select ring size to determine ring blank.
- Sketch design plan for ring, inspired by examples.
- Choose wax type based on level of detail needed.
Preparing the Ring Blank
- Select ring profile for desired size.
- A rough wax blank is provided to practice with first.
- Start to work on your ring blank.
- Use the wax ring cutter to make the blank close to the size you require.
- Use files to form a basic band shape.
- Check your ring size with a mandrel to confirm fit.
- Refine band contours with knife, files, hot tools.
Coffee break
Carving the final ring
- Demo using wax carvers to incise lines, patterns.
- Students practice basic cuts and gouges on scrap wax.
- Begin carving design on ring top using appropriate tools.
- Use needle files, double ended files and emery papers to refine details
Finishing Touches
- Review techniques for adding textures, stone settings.
- Demonstrate attaching sprue .
- Students refine designs and add final details.
- Attach sprue and prepare for lost wax or sand casting.
Share and Review
- Students share finished carved ring wax models.
- Provide feedback on designs and carving techniques.
- Review key concepts and next steps after wax carving.
Final casting
Your ring is now ready to be cast in silver.
Polishing
Your ring will be expertly finished and posted back to you within 3 weeks.
.
Carving a Wax Pendant : Duration 4 hours
£115 including silver casting (weight limit)
Usually a pendant design starts by transferring a design onto a sheet of wax. In our course this is using a 2-3 mm wax sheet although we have thicker depending on the design. We supply the sheet but students can also try creating their own sheet from surplus wax. Our electric melting pots hold just enough wax to ladle out an amount to be poured into the reusable mould,
Introduction (15 mins)
- Embark on a journey through the intriguing history of wax carving.
- Delve into the wax jewellery creation flow: from carving and mould creation to casting and the final polish.
- Explore the various facets that make a pendant unique.
- Different wax varieties – from hard to the soft density – green and blue wax types.
- Get acquainted with the specialised carving toolkit provided for every student during the 2.5 hours. These include specialized wax carvers, knives, files, thermal wax pens, and the precision wax gun.
- Safety first! Proper ventilation, maintaining minimal heat and the cautious use of sharp tools.
Crafting the Vision: Pendant Designing Stage (30 mins)
- Choose a design style: with a gem or not, engraved motifs, or applied patterns.
- Decide on the thickness of the wax sheet ideal for your pendant.
- Draw your envisioned pendant design either your own design or from examples.
- Make an informed choice on the wax consistency considering your pendant’s intricacy.
Coffee break
Preparing the Wax Sheet (45 mins)
- Determine the dimensions for your pendant.
- Engage with a basic wax blank for hands-on experience before diving into the actual crafting.
- Start to work on your master pendant sheet – blue or green wax.
- Use the fret saw, precision knife, and files to create the pendant’s shape
- Refine the shape with knife, files and try the hot wax tools!
3D pendant carving (45 mins)
- If necessary, transpose your design onto the wax sheet with the provided Sharpie pen. You may wish to reduce the weight in silver by carving out the back.
- Watch and learn: a live demonstration on harnessing wax carvers for intricate engravings, stamp imprints, and using both wax pen and gun for precision.
- Master the art: experiment with initial cuts and chisels on surplus wax.
- Employ needle files, double-edged files and abrasive papers for detailing to perfection.
Nearing Completion: Finalizing the Masterpiece(30 mins)
- We discuss advanced techniques for introducing textures and setting stones.
- Learn the expert process of affixing the sprue and setting up mould components.
- Refinement time: Students hone their designs and introduce the finishing touches.
- Getting ready for the lost wax or sand casting methods attaching the sprue.
Collaborative Insights and Feedback (15 mins)
- Display your meticulous wax models amidst fellow creators.
- Engage in constructive feedback circles, appreciating designs and mastering techniques.
- Consolidate the session with a summary of core learnings and steps that follow wax sculpting.
Final casting
Your pendant is now ready to be cast in silver.
Polishing
Your pendant will be expertly finished and posted back to you within 3 weeks.
.
Carving a Wax Bead or Charm : Duration 2.5 hours
£95 including silver casting (weight limit)
By the end of the lesson, participants will be able to create a basic carved wax bead or charm understanding the primary techniques and processes involved.
Introduction (15 mins)
- A brief history of wax carving and how it is applied to bead and charm making.
- A detailed look at the wax jewellery making process and how it is made into silver.
- Decide which item to make – bead or charm.
- A look at wax types – hard, medium, soft (Typically blue and green are used)
- Brief overview of materials and tools – wax carvers, knives, files, hot wax pen, hot wax gun.
- Wax safety – ventilation, low heat, sharp tools and dust.
Planning the Bead or Charm Design (30 mins)
- Consider style – single bead necklace, bead pendant, charm or Pandora charm style.
- Select wax blank – bead profile or Charm thickness.
- Sketch design plan for the bead or charm. The tutor provides examples or you go go freestyle.
- Choose wax type based on level of detail needed.
Preparing the Bead or Charm blank (45 mins)
- A bead blank and charm sheet is provided to practice with first.
- Start to experiment on how the wax cuts and files.
- Refine the bead or charm using the toolset provided – files, hot tools.
Coffee break
Carving the Bead or Charm (45 mins)
- Transfer your design to the Bead blank or Charm sheet.
- A quick demonstration using wax carvers to form the design in the wax.
- Students practice basic cuts and gouges on scrap wax and how to use the wax pen.
- Begin carving design into the bead or add wax. Similarly build up the charm or carve wax away.
- Use needle files, wax pointers, wax carvers and emery papers to refine details.
Finishing Touches (30 mins)
- Look at different methods to add textures and include stones in the wax.
- Demonstrate attaching sprue and the process of casting.
- Students refine designs and add final details.
- Attach sprue to the final bead or charm and prepare for lost wax or sand casting..
Share and Review (15 mins)
- Everyone shares their finished bead wax models.
- All contribute to understanding the designs and carving techniques.
- Discuss next steps after wax carving.
Final casting
Your Bead or Charm is now ready to be cast in silver.
Polishing
Your bead or Charm will be expertly finished and posted back to you within 3 weeks.
.
Delft Clay and Cuttlefish Casting Mastery : Duration 5 hours
£195 including silver casting (weight limit)
This advanced course is for students who wish to cast their own models at home with basic equipment. Cuttlefish casting uses the dried backbone of the cuttlefish (which is soft) to transfer a pattern into by pressure. The Delft clay process is similar to traditional sand casting which can be used more than once and produce surprisingly fine detail.
Introduction to Delft Clay and Cuttlefish Casting (15 mins)
- Brief overview of the Delft clay method and Cuttlefish casting – and its origins.
- Discuss the advantages, disadvantages and applications of each method.
- Introduction to the tools and materials you’ll need for the course.
- Health and safety concerns.
Preparing for casting – understanding the materials of clay and bone (30 mins)
- Characteristics and properties.
- Proper storage and maintenance.
- Selecting objects for casting.
- What works best? The importance of simplicity and detail.
- Cleaning and priming your object for a successful cast.
The moulding process – Cuttlefish casting (30 mins)
- Setting up the cuttlefish bone – sanding and shaping.
- Carving the sprue and adding gas vents where necessary.
- Creating registration pins and wiring the bone together.
- Wiring the bone halves together and supporting prior to casting.
Coffee break
The moulding process – Delft clay (60 mins)
- Assembling and preparing the flask for the clay
- Techniques for ensuring a tight, detailed mold.
- Positioning your model.
- Using tools to compact and build up the clay.
- Dusting each mould half.
- Adding a sprue and gas vents where necessary.
- Locking the mould.
The casting process- Cuttlefish casting – Delft Clay casting (40 mins)
- Safety discussion wear safety goggles and gloves.
- Heating the metal- graphite crucible or charcoal.
- Correct temperature for the metal.
- Techniques for a clean pour.
- Pouring into the sprue.
Removing the cast item from the Cuttlefish or Delft clay (15 mins)
- Unwiring the cuttlefish mould and separating the Delft casting flask.
- Disposing of the cuttlefish mould and scraping back the Delft Clay for reuse.
- Everyone shares the results of their castings.
Final casting
Your casting will be cleaned and polished and returned to you within 3 weeks if required
.
Mitsuro Hikime wax jewellery: Duration 2.5 hours
£95 including silver casting (weight limit)
In this course, you’ll get a taste of the Mitsuro Hikime wax technique, allowing you to create unique jewellery designs using this ancient Japanese method which allows for very naturalistic design forms.
Introduction (15 mins)
- Introduction to this ancient wax technique.
- Understand what it is made from and how it handles
- Get acquainted with the specialised toolkit provided for every student during the 2.5 hours.
- Examples
- Safety first! Proper ventilation, maintaining minimal heat and the cautious use of sharp tools.
Design Principles and Aesthetics (30 mins)
- Explore design principles and aesthetics for Mitsuro Hikime jewellery.
- Understand the limitations of the technique.
- Inspiration and creativity in Mitsuro Hikime.
Coffee break
Wax Modelling Basics (90 mins)
- Demonstration
- Receive your Mitsuro Hikime wax test material.
- Basic wax heating and manipulation/cooling/joining.
- Hands-on practice: Create a simple wax model.
- Attach a sprue for casting
Collaborative Insights and Feedback (15 mins)
- Display your meticulous wax models amidst fellow creators.
- Engage in constructive feedback circles, appreciating designs and mastering techniques.
- Consolidate the session with a summary of core learnings and steps that follow making Mitsuro Hikime wax jewellery.
Final casting
Your Mitsuro Hikime wax is now ready to be cast in silver.
Polishing
Your jewellery will be expertly finished and posted back to you within 3 weeks.

.
Why choose JWAXC?
We guarantee you’ll have a great time!
With a comprehensive tuition notes, the very best equipment and more.
01
Lots of designs to choose from
We provide you with designs to reproduce or assist you with your own design.
02
Trusted Tutors
We only work with the very best qualified jewellers who are able to assist from start to finish.
03
Great Value
We provide all the materials and tools on site ready and set up for you to create your masterpiece
Simple pricing
Everything you need to complete a silver casting is included in the course: your use of our tools, we supply all the wax and we give you access to our casting service and post casting clean up services all included in a simple price plan – no hidden extras.
Courses
from £95
including silver casting
Perfect for beginners and experts alike.
Frequently Asked Questions
Which is the best course for me?
All of our courses are made to be relevant to beginners or for the more advanced student. We consider everyone who takes our course needs individual attention which is why we limit the courses to just 10 participants.
Can I select any of the courses?
Yes you can. Each has its own techniques, for instance the pendant course mostly works on flat wax whereas the ring and bead are more three dimensional. The Mitsuro Hikime wax is an interesting serendipitous technique – very relaxing.
Can I give the course as a gift?
Our courses are a great gift idea. Simply send us an email with your request and we will issue you a credit to any of the courses we offer. Each gift certificate is presented in a great package – just to set the excitement
How do I pay?
We do ask for payment at the time of booking. Should you change your mind 24 hrs before the course starts we are happy to refund you – no questions asked.
Is there a discount if I take more than one course?
Yes we offer a 10% discount code which you can apply to your next course.

Still have questions?
Can’t find the answers you’re looking for? Let’s talk.